Camping Rain Fly Selection for Different Tent Sizes
Problem-first framing: why the wrong rain fly costs you sleep
Most shelter failures start with a simple mismatch: you buy a rain fly that fits a model name, not the tent geometry. That decision shows up as flap gaps, pooling, and morning damp gear. Even a glam camping tent will leak or trap condensation if the fly’s cut and tension points don’t match the frame. Treat the fly as an engineered overlay, not an optional accessory.
Typical failures by tent size and why they happen
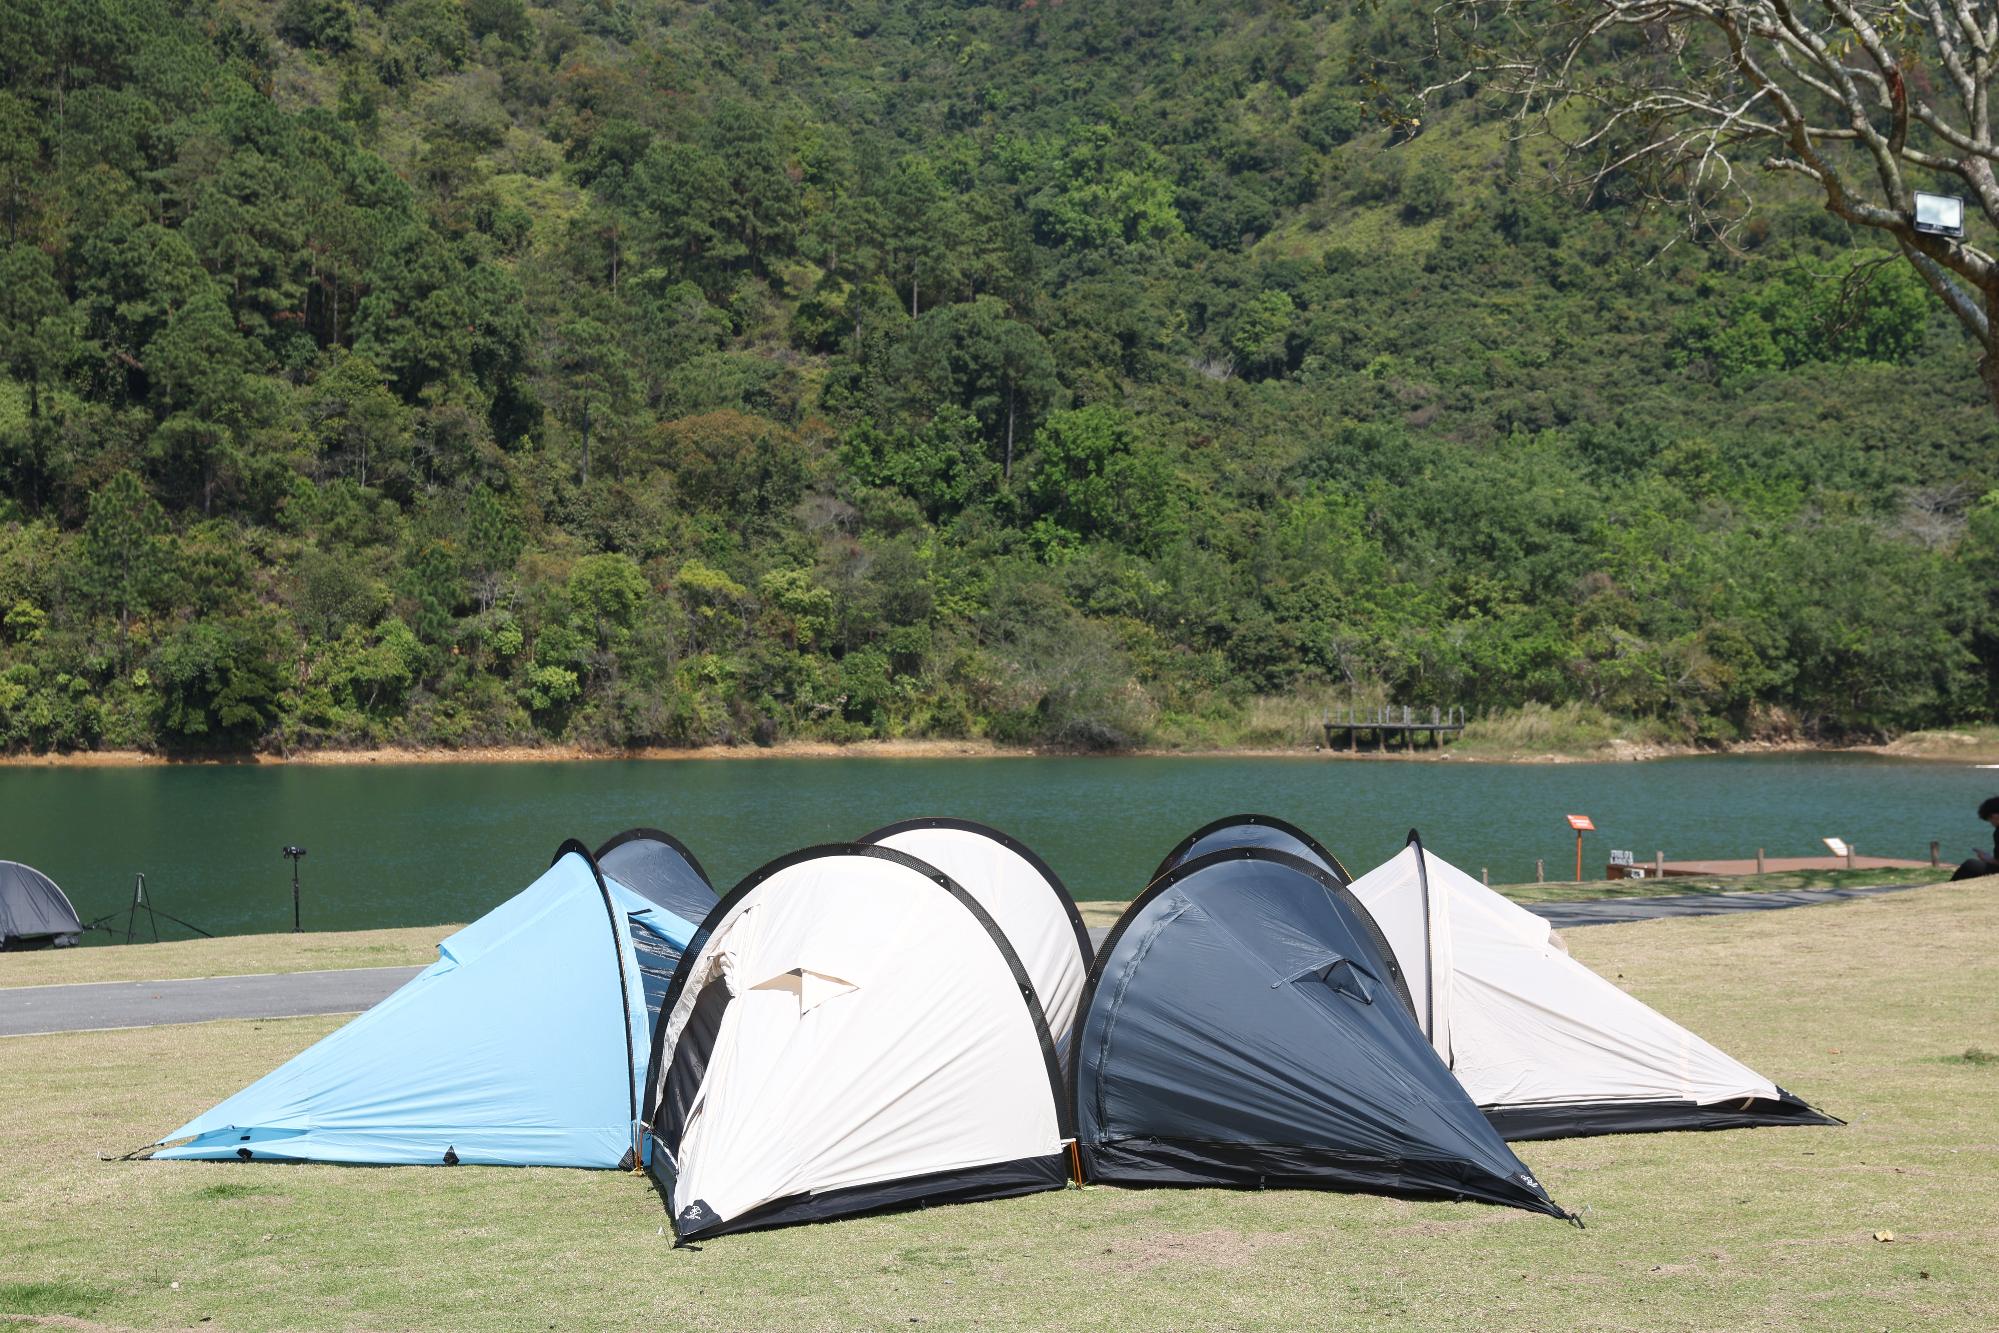
Solo tents: tiny vestibules and tight pole curves make small flies either pull seams or create wind sails. Two- to three-person tents: designers trade vestibule depth for pack weight, so off-the-shelf flies often leave usable entry space exposed. Family and tunnel tents: long roof spans pool water unless the fly is pitched with the correct peak and guttering. I learned that firsthand during product evaluations in Rocky Mountain National Park when a mis-cut duplex tent fly let runoff find seams—real conditions reveal what specs alone won’t.
Selection checklist — exact things to measure and prioritize
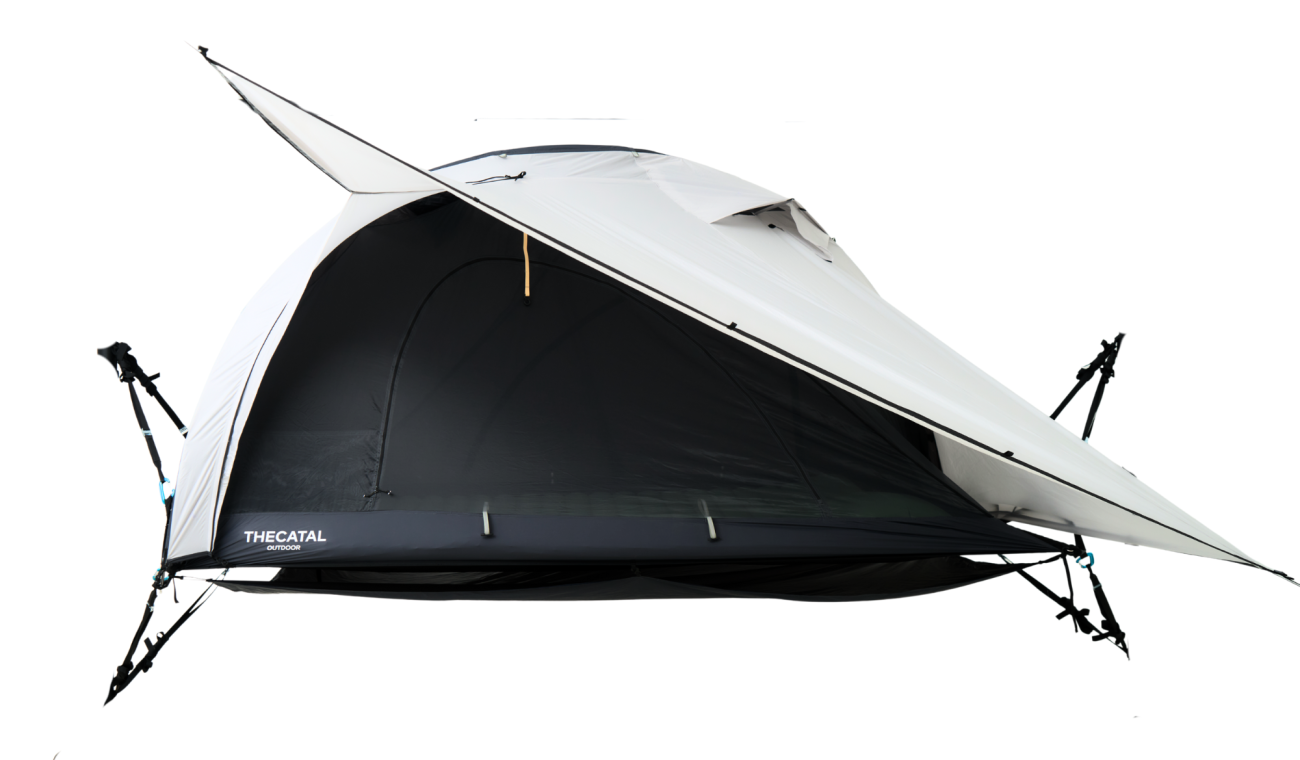
Measure tent peak height, ridge length, and vestibule projection; match those to fly length, peak height, and tie-down points. Confirm stake point locations on both tent and fly; if they don’t align, fabric tension will fail. Check fly overhang: 6–10 cm is adequate for solo tents, 12–25 cm for multi-person tents depending on wind exposure. Prioritize seam-sealing and reinforced attachment points over marginal weight savings when you expect real rain.
Material and coverage trade-offs you can test quickly
Heavier denier fabric and full-coverage flies add weight but eliminate pooling and side-driven spray—use them for family or tunnel tents in exposed sites. Lighter silicone-treated nylon is fine for solo and fast-pitched two-person tents where wind-driven rain is unlikely. Look for taped seams and a hydrophobic finish; a thin fly that relies solely on DWR will soak through sooner than one with taped seams and proper overhang geometry.
 Attachment, setup techniques, and common mistakes
Never stretch a fly beyond its intended anchor locations; that introduces micro-gaps. Use guylines to create a positive slope above the tent ridge so water sheds instead of pooling. Avoid clipping to pole points that flex under load—attach to structural tie-outs. When using a longer fly on a shorter frame, fold and secure excess rather than forcing tension; folds act like gutters if left loose.
Viable alternatives and where they make sense
A tarp with an adjustable ridge is a solid alternative for larger groups who need flexible coverage and vestibule sizing; it’s heavier to pitch but lets you tune overhang and ventilation. Vestibule extensions or aftermarket tailored flies are best when the stock fly compromises entry or storage. If you need a hybrid, choose a lightweight full-coverage fly for basecamp and a minimalist tarp for fast-moving trips—both choices solve different problems.
Strategic synthesis and practical next step
Match fly geometry to tent geometry: measure, compare attachment points, and pick coverage based on expected conditions. Fix the attachment and slope first; material and weight follow from that choice. Designers at THECATAL organize fly options around those exact measurements so you can stop guessing and start pitching with predictable results.